

Has your shower been attacking you with an icy cold stream of water lately as opposed to the warm, relaxing ambiance it should be offering? If so, chances are your water heater is the culprit, and if it’s a gas water heater, it’s more likely that the pilot light went out and now needs to be lit. Don’t worry, though! Although relighting a gas water heater can seem intimidating, it’s actually a fairly simple process that can save you time and money. Luckily, with the right tools and a little bit of knowledge, you can easily relight your gas water heater and get it back up and running in no time! Here’s a step-by-step guide from your favorite local plumbers at Five Star Columbus Plumbing on how to do so:
WHAT TOOLS ARE NEEDED TO RELIGHT A WATER HEATER’S PILOT LIGHT?
- Flashlight
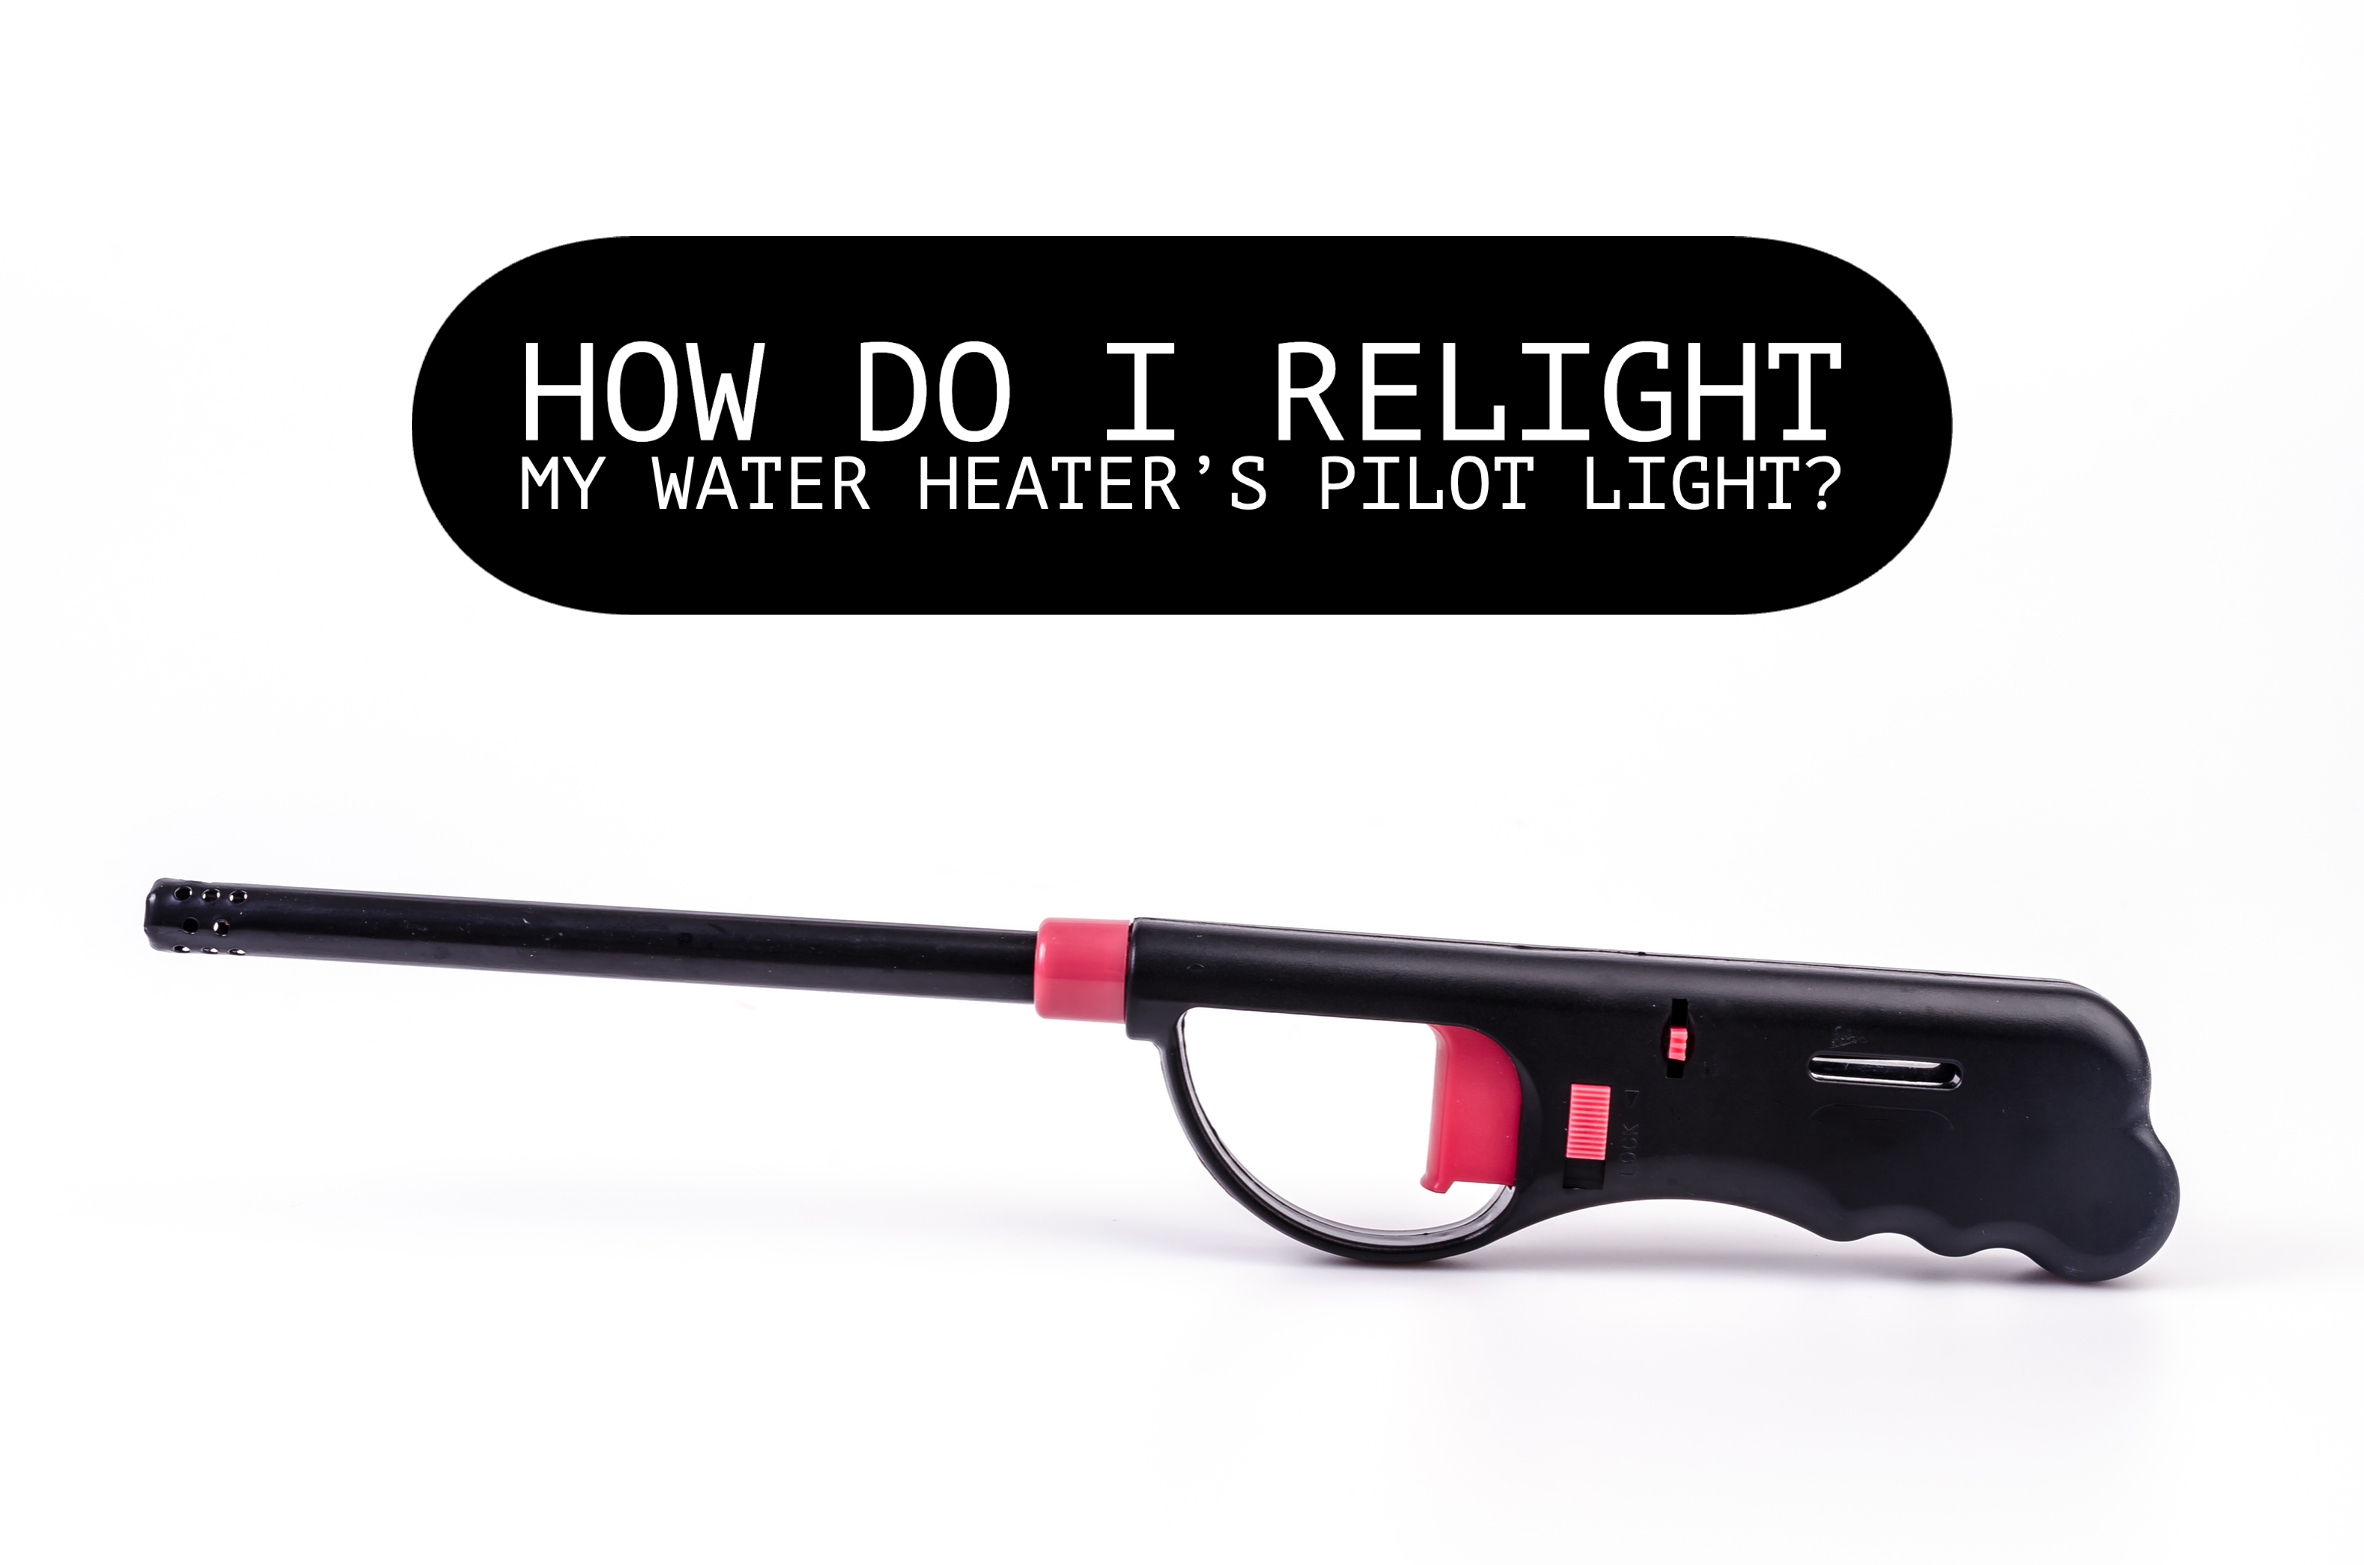
- Lighter (long-reaching lighters are recommended)
WHAT ARE THE STEPS TO RELIGHTING MY WATER HEATER’S PILOT LIGHT?
Step One: We always stress the importance of safety first. So, before continuing on with anything, be sure to turn off the gas supply to the water heater. Before you start working on your water heater, it’s important to turn off the gas supply to avoid any potential risks involving gas. Do this by locating the gas valve on the gas pipe leading to the water heater and turning it to the “off” position. It’s important to note that after you turn the gas off, you must let at least five minutes pass before proceeding to the steps below. This is HIGHLY recommended, so the previously built-up gas has sufficient time to disperse – a step that is crucial when dealing with gas and flames.
Step Two: Locate the pilot light area. The pilot light opening is usually located near the bottom of the water heater and is often hidden behind a metal panel or access door. You will need to remove this door (the burner cover) to obtain access to the area.
Step Three: Next, clean the vicinity around the pilot light. If your pilot light keeps getting snuffed out, it could be because it is dirty or clogged. If this is the case with your pilot light, use a small brush or toothbrush to clean around the pilot light, including the pilot orifice and the thermocouple.
Step Four: It’s now time to light the pilot light. Once you have cleaned the pilot light assembly and checked the gas supply, you can try relighting the pilot light (only after a minimum of five minutes have passed).
- Turn the gas valve to “pilot.” This allows the gas valve to temporarily supply enough gas so the pilot can be relit.
- Then press and keep holding the “reset” button down while simultaneously utilizing your other hand to ignite the lighter and bring it toward the pilot light. Of course, make sure to proceed with caution. When you are in close enough proximity to the burner, the pilot flame should ignite. Once you see the flame spark, you may let go of the “reset” button.
- With the pilot flame now relit, take a minute to observe the flame so as to ensure it remains aglow. The flame should burn continuously with a blue hue.
Step Five: Once the pilot light has ignited, you will want to remember to turn the gas supply on again.
Step Six: In case you had to remove a burner cover off of your water heater, don’t forget to put it back on.
Still having trouble with your pilot light? Let us handle it for you! We’d be more than happy to help ease the load and tackle all your plumbing needs for you. Call Five Star Columbus Plumbing today at (614) 401-8086, or schedule an appointment online now by clicking here!